
IDE development setup#
Repo setup#
We assume in this guide that you have cloned the repository.
In order for this to work you need to have a build directory in the root folder named build, otherwise vscode will crap itself because it does not understand build directories not named build …
In summary we assume the following commands
git clone --recurse-submodules git@github.com:Shamrock-code/Shamrock.git
cd Shamrock
./env/new-env --builddir build --machine debian-generic.acpp -- --backend omp
cd build
source ./activate
shamconfigure
VSCode (and derivatives, e.g. Cursor, Vscodium, …)#
Initial setup#
Many IDEs are available for C++ development, in this guide we focus on VScode.
Many flavors of VScode are available. Either the spyware version VScode or the cleaned version without Microsoft telemetry, AI, whatever and especially truly open source VScodium. This guide works on both.
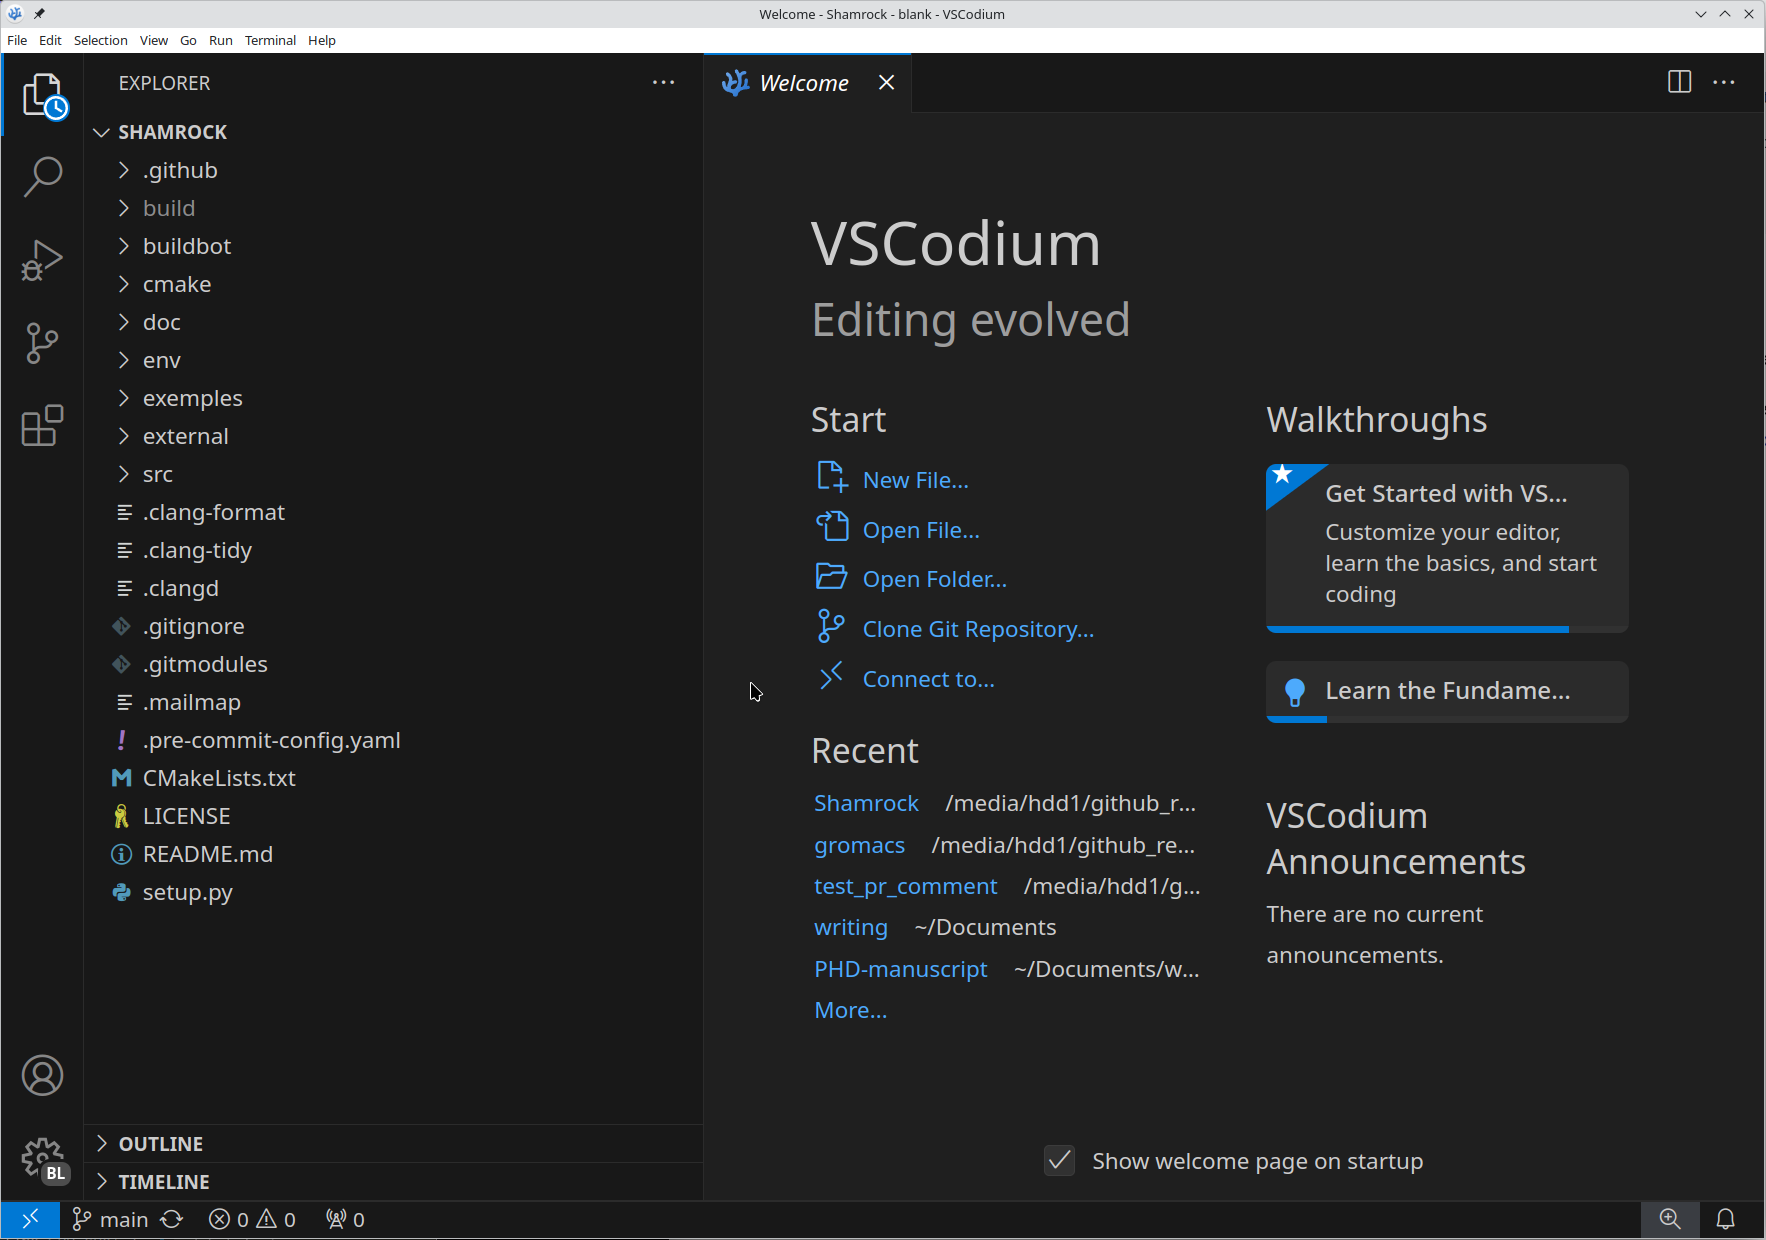
In the Shamrock folder run either code (how can Microsoft reserve such command name btw !!!) or codium to start the IDE in the correct folder.
Initially you should see something like this
VSCode profiles#
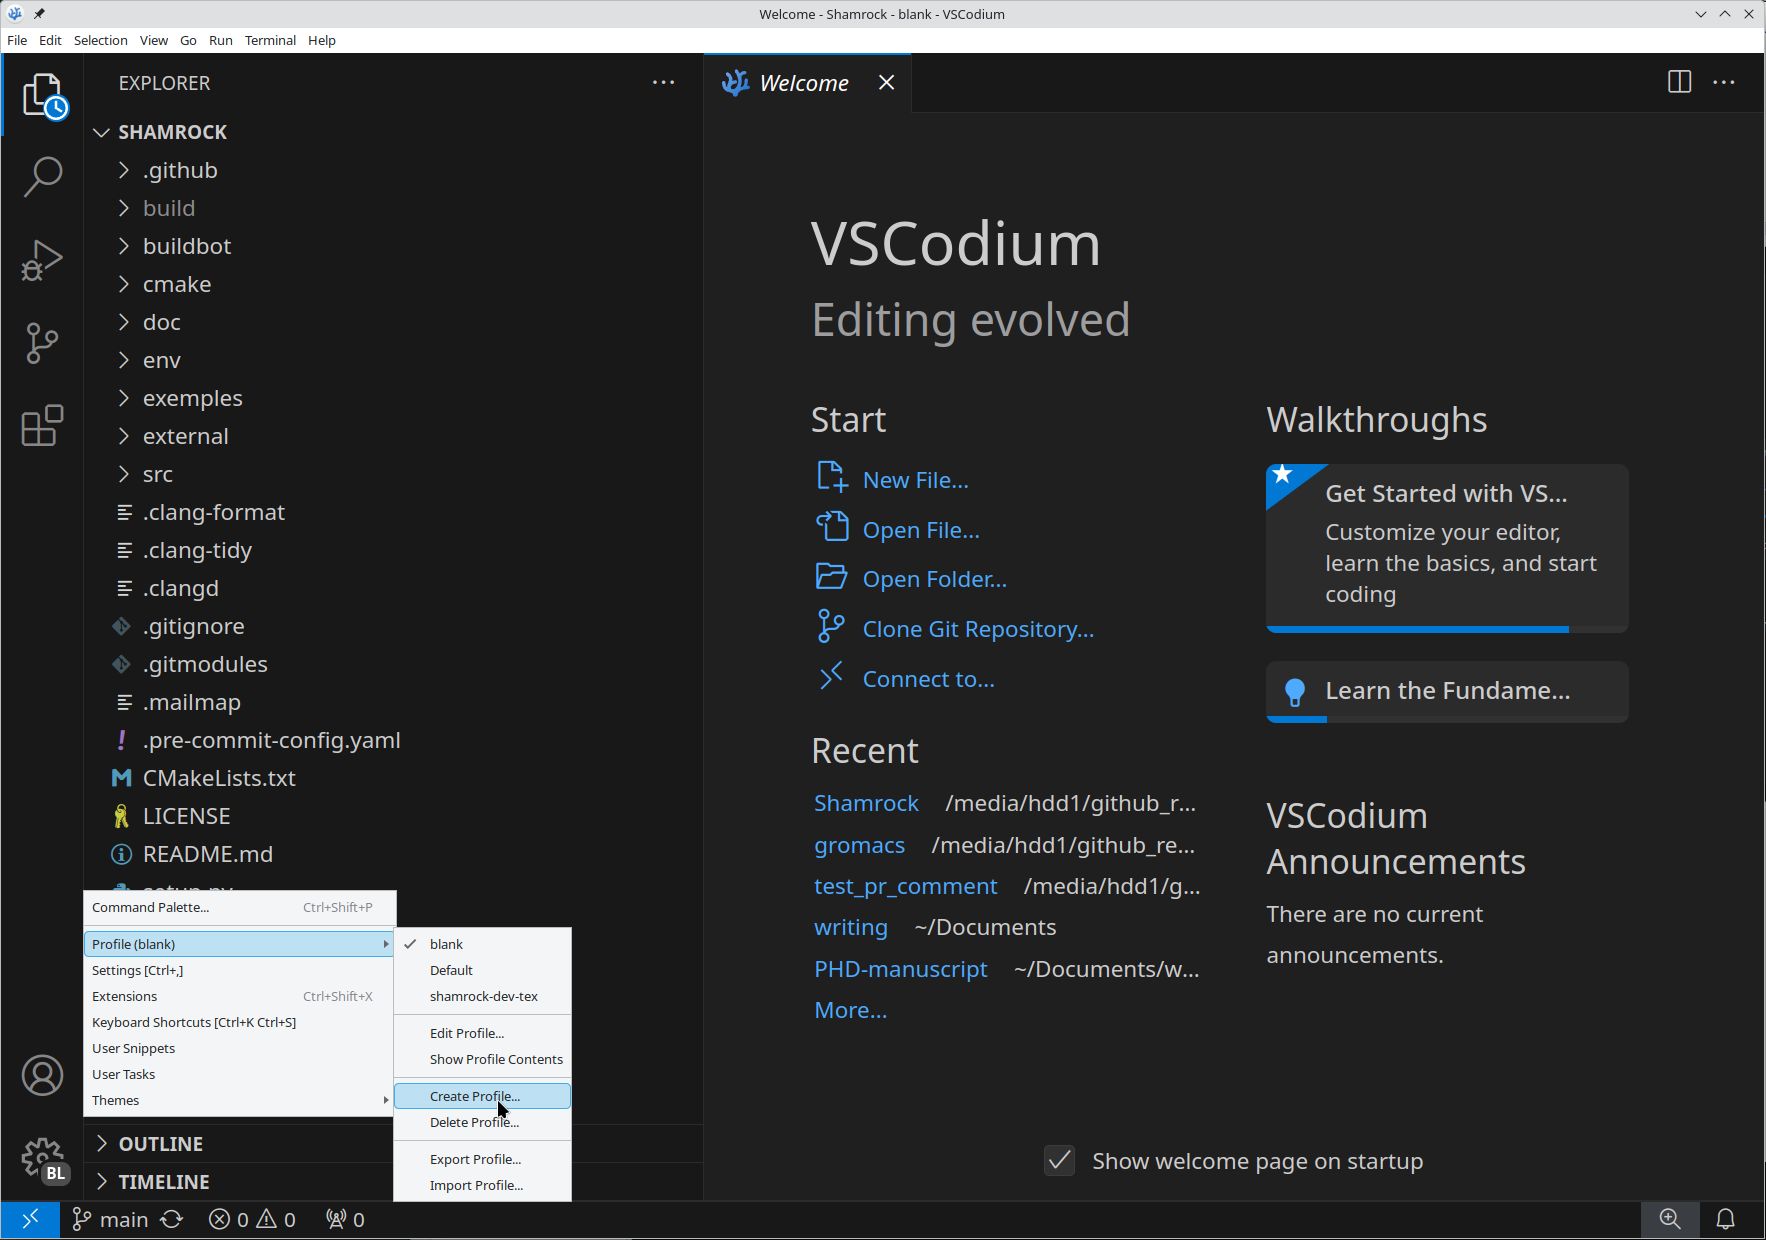
Start by creating a new vscode profile to avoid messing up existing configurations (you can also import existing keyboard shortcuts or whatever at this step, see: VScode profiles).
Click on the setting icon, go in the profile tab and select Create Profile...
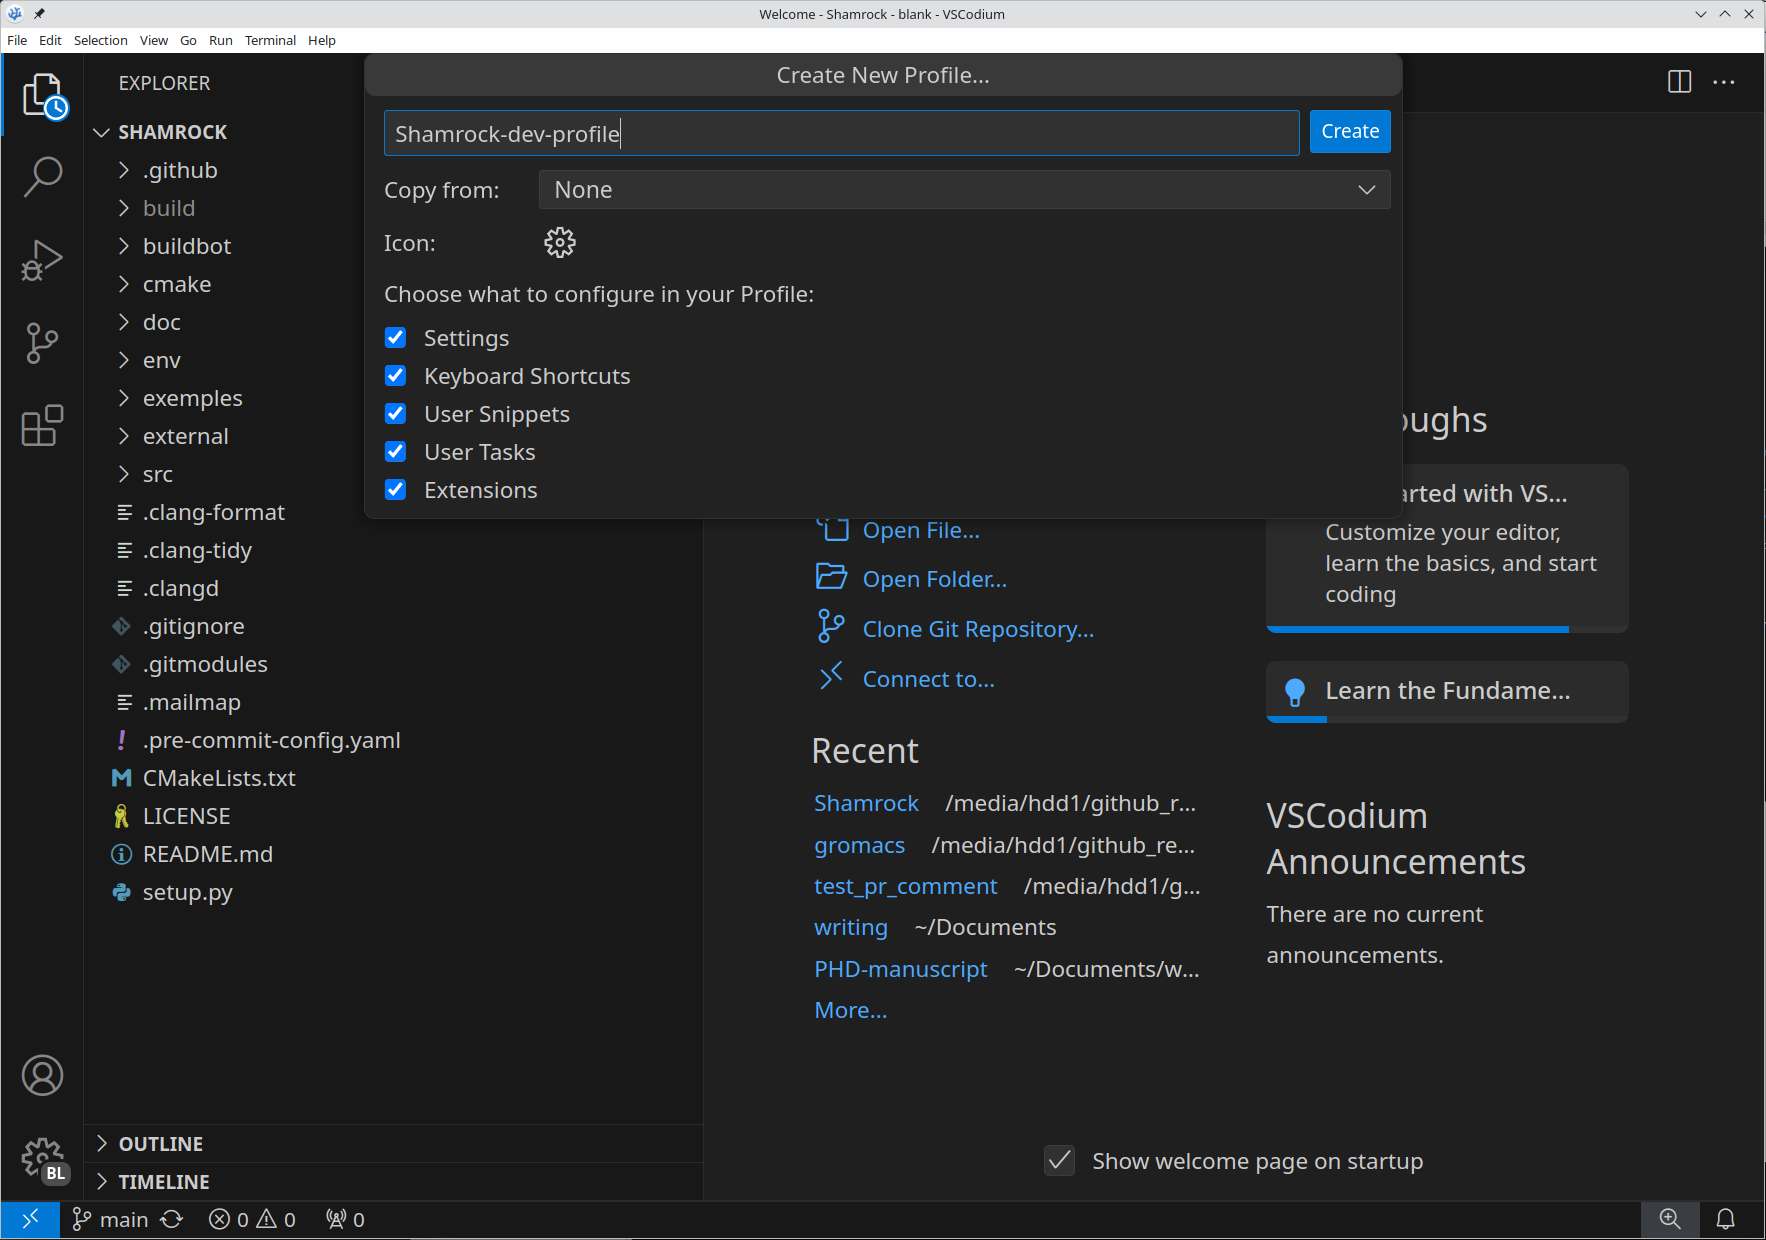
 Select your options to create the profile and click on
 Create
Now that you have created a profile, go to the extension tab,
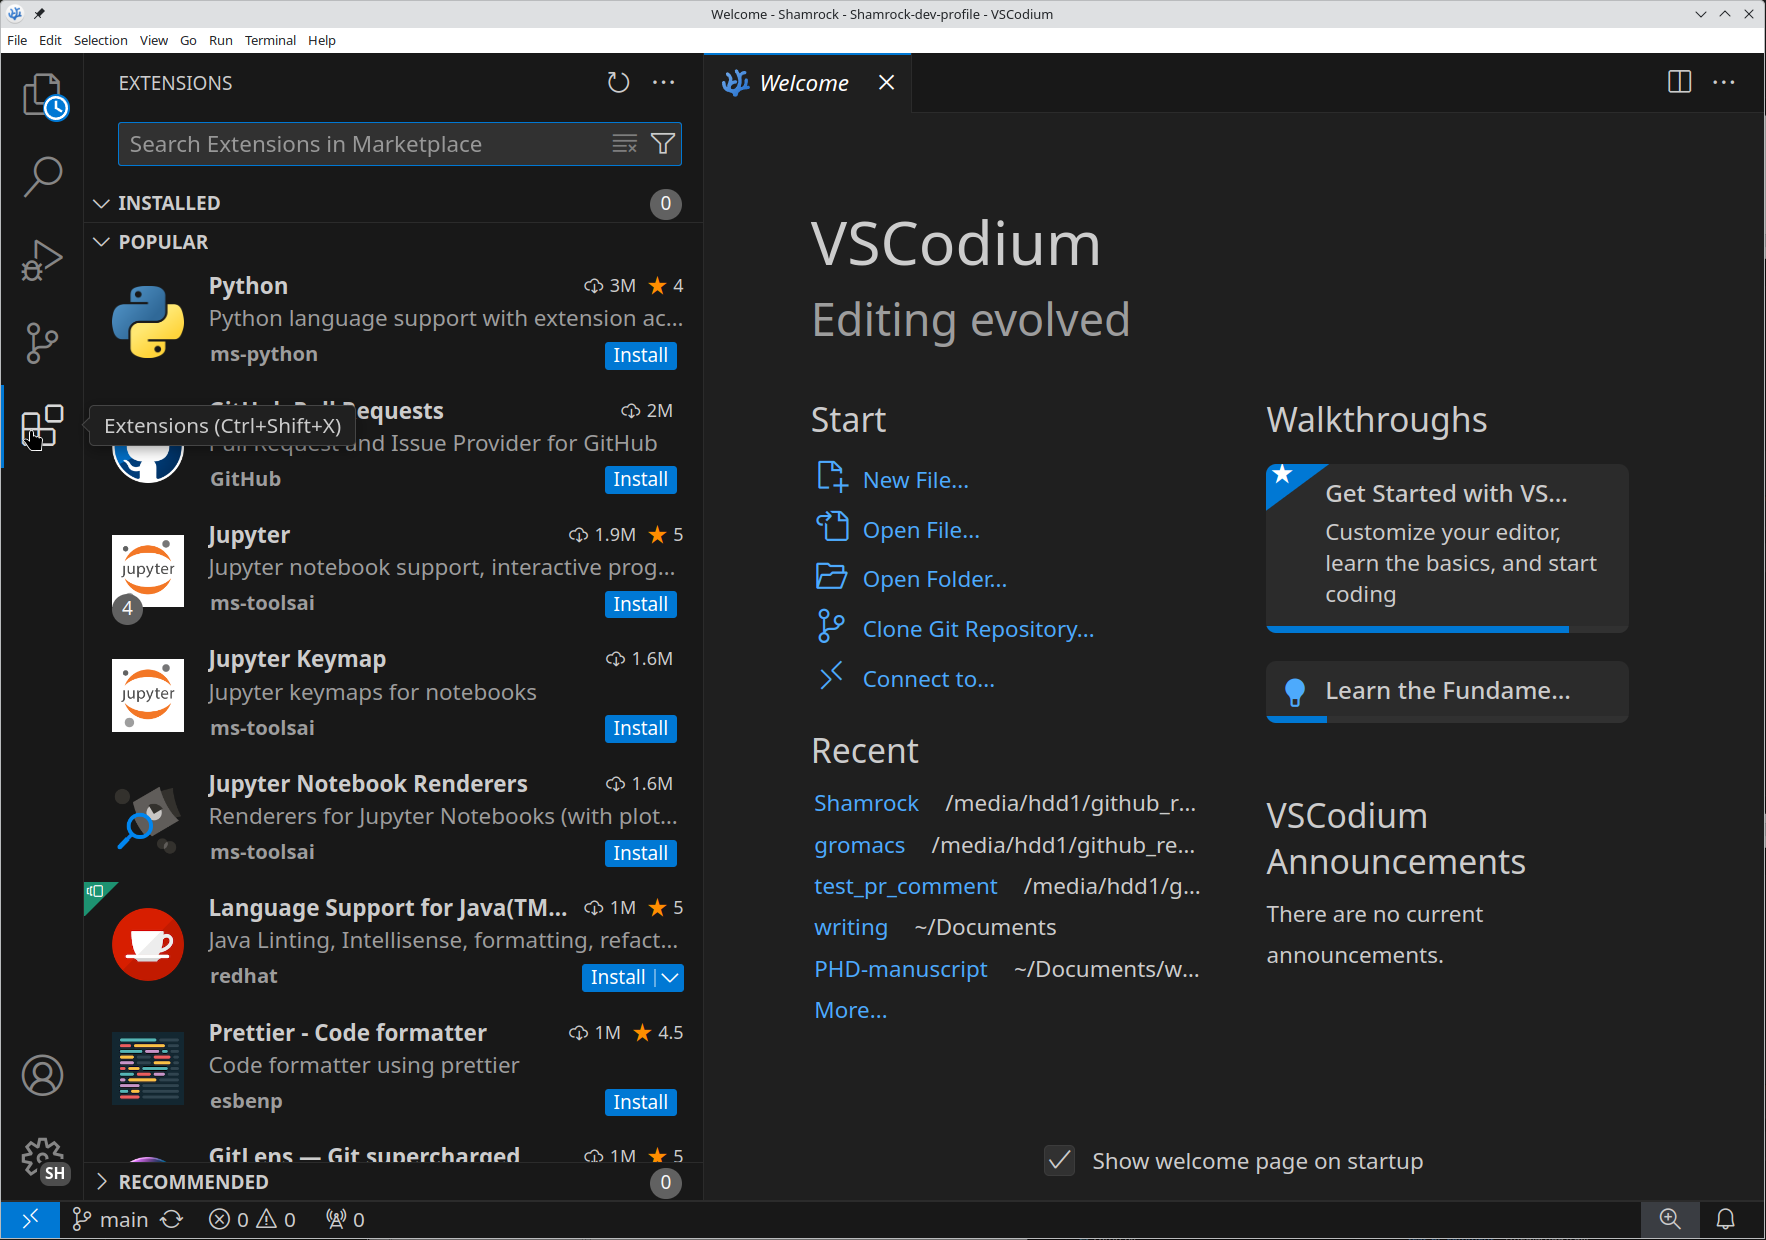 and install the
 clangd C++ language server to get autocompletion and syntax highlight/checking.

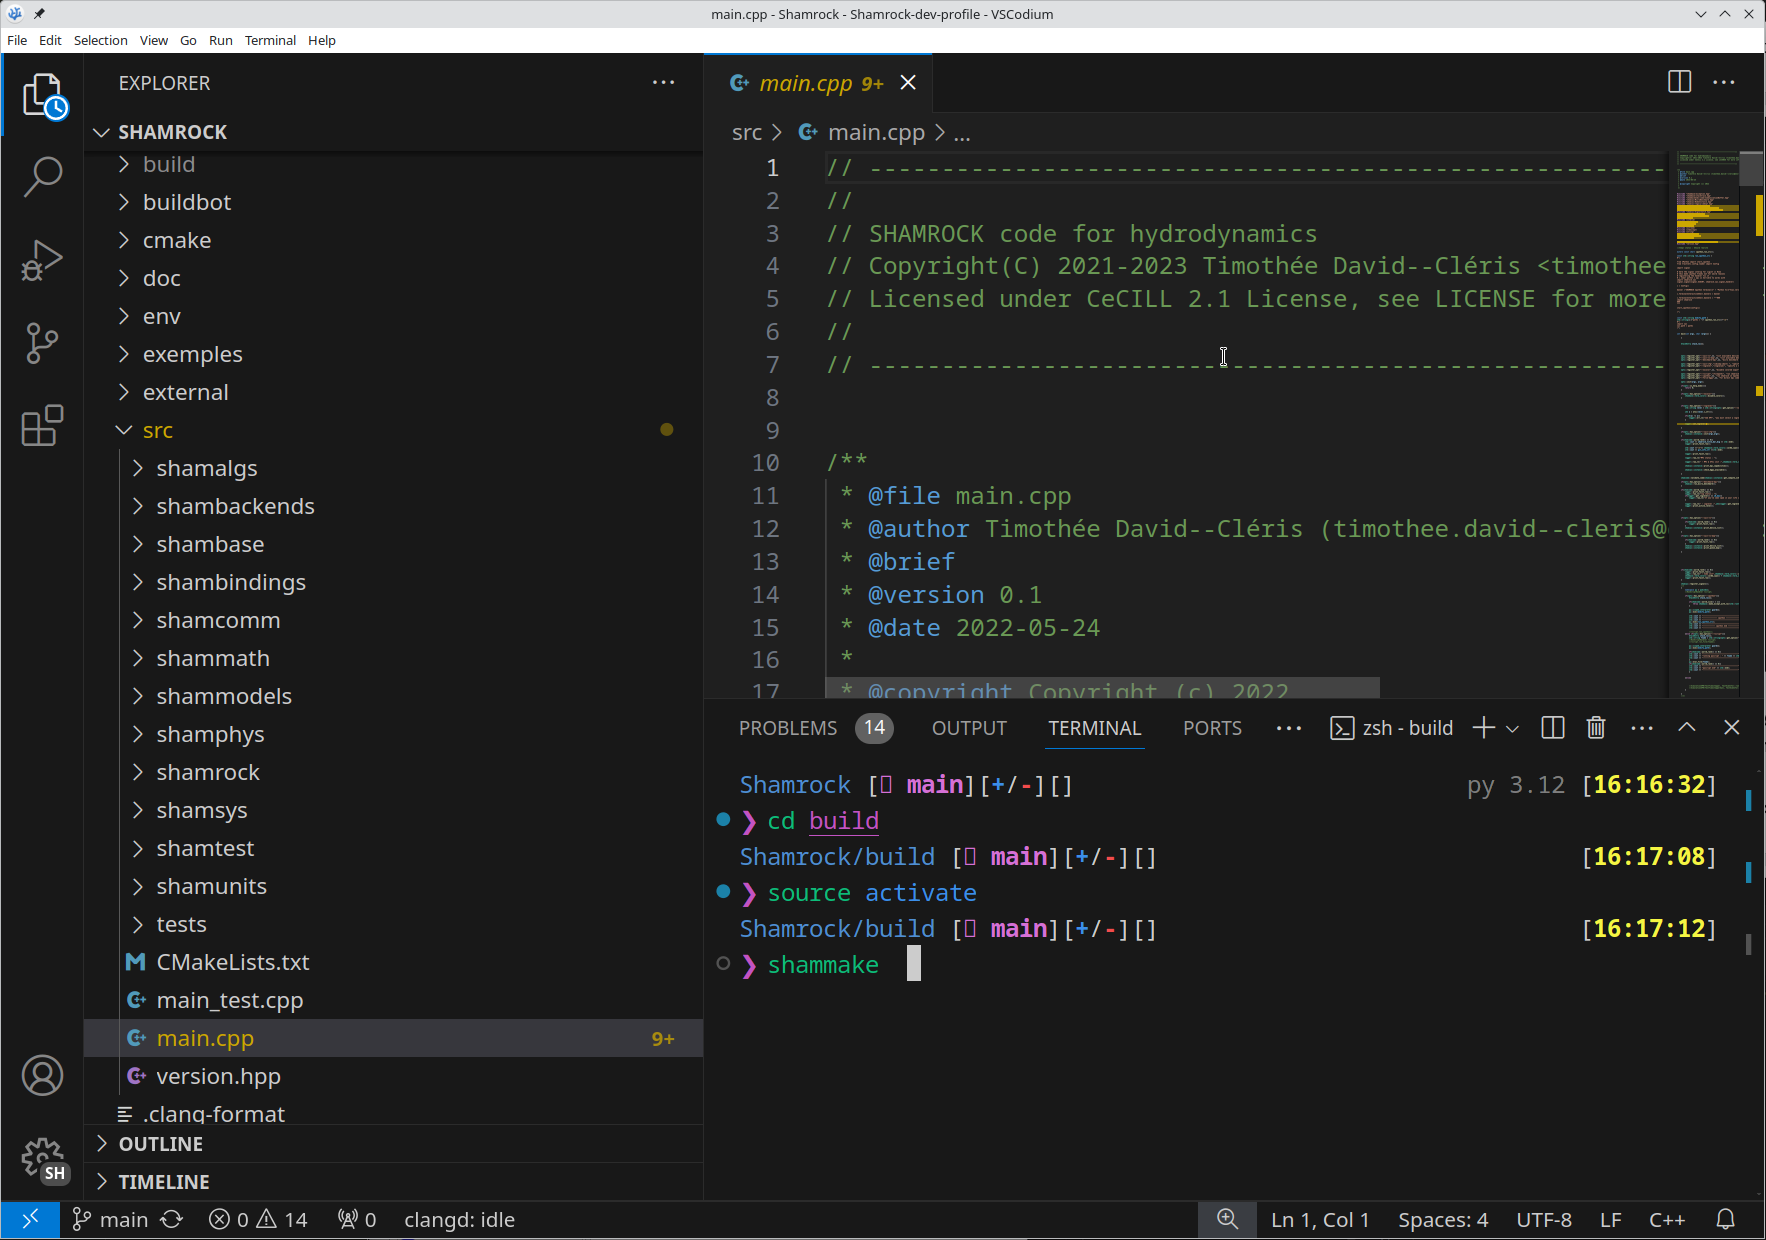
Clangd will be looking at the file build/compile_commands.json from the root directory to get the compilation arguments. In Shamrock the .clangd file in the root of the directory and the CMake configuration is made in such a way that you will get autocompletion with SYCL support in the repository. To check, go in any cpp file (src/main.cpp here) and it should work (check that it says clangd: idle or something similar at the bottom of the screen).

You can now go on the menu bar in the terminal tab and open a new terminal and you can start working normally.
You can then install whatever VSCode extensions of your liking, just avoid any IntelliSense C++ extensions as they conflict with Clangd (which is arguably better btw 😄).
Neovim (Lazyvim)#
If you are an absolute nerd (this is my setup btw) you can also use Vim. Although you may miss some quality of life and the streamlined aspect of VScode, you will save a shit ton of RAM doing so. It became a significant aspect for me as even though I have 64GB of RAM on my desktop I cannot necessarily run large tests and have VScode opened at the same time.
Anyway in that case it starts similarly to VSCode. First off, go to Lazyvim, do the setup as they explain and then:
In nvim/lazyvim.json add the list to the extras tab, mine looks like this:
{
  "extras": [
    "lazyvim.plugins.extras.lang.clangd",
    "lazyvim.plugins.extras.lang.cmake",
    "lazyvim.plugins.extras.lang.json",
    "lazyvim.plugins.extras.lang.markdown",
    "lazyvim.plugins.extras.lang.python",
    "lazyvim.plugins.extras.lang.tex",
    "lazyvim.plugins.extras.lang.toml"
  ],
  "install_version": 8,
  "news": {
    "NEWS.md": "11866"
  },
  "version": 8
}
This will enable the LSP (the thing to check the syntax and autocomplete in various languages for the list of languages on this list).
Then in nvim/lua/config/options.lua ensure that you have
local opt = vim.opt
opt.shiftround = true -- Round indent
opt.shiftwidth = 4 -- Size of an indent
This will ensure that you are using 4 space indent as you should (no I’m not biased XD)
Finally in nvim/lua/config/autocmds.lua ensure that you have
-- Autoformat setting
local set_autoformat = function(pattern, bool_val)
  vim.api.nvim_create_autocmd({ "FileType" }, {
    pattern = pattern,
    callback = function()
      vim.b.autoformat = bool_val
    end,
  })
end

set_autoformat({ "cpp" }, true)
set_autoformat({ "python" }, false)
set_autoformat({ "lua" }, true)
This will disable the autoformatting for python as this is done automatically by black in Shamrock.